Using a process
When you are added to a process, you can create new items, check the process feed, and act on items assigned to you.
Initiating new items
To initiate a new item in a process, click New Item on the top right corner of the screen. A new form will open and you can add data to the fields and then click Submit. Clicking Save will save your current work without submitting it and store it in your Drafts (accessible in My Items). Clicking Discard will delete the item permanently from the system.
Process layouts
All processes have three tabs: Feed, My Items, and My Tasks.
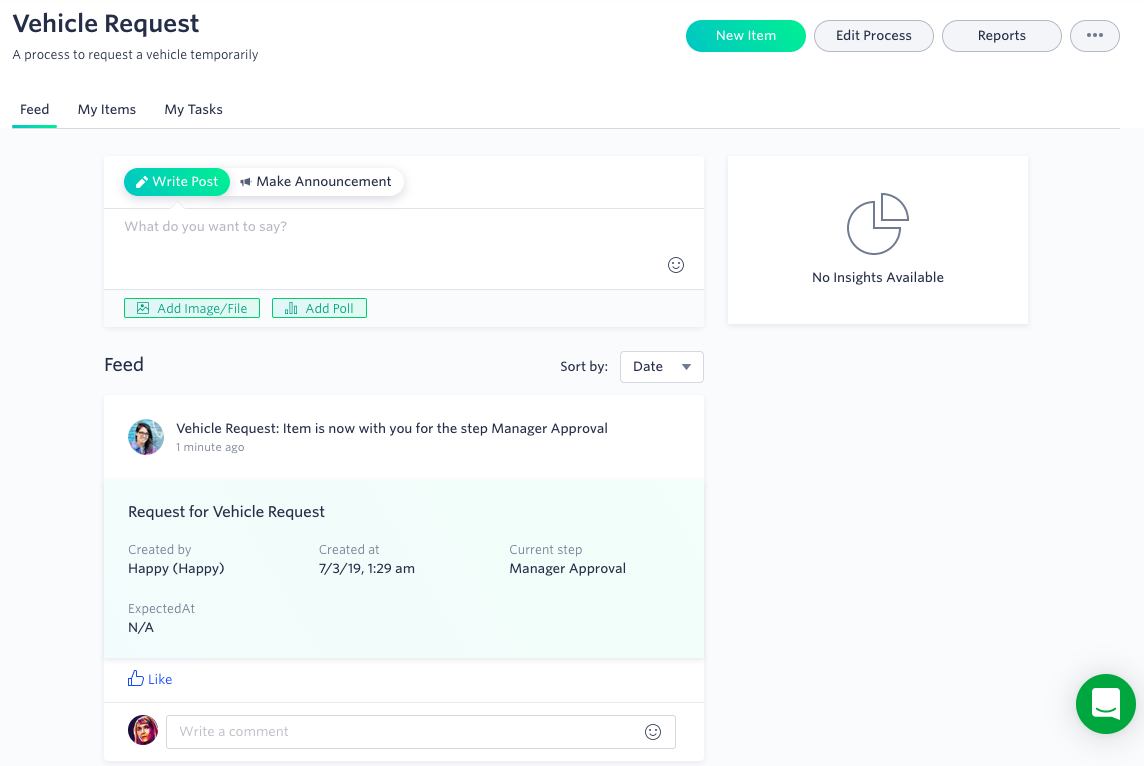
Process feed
The feed lets members of the process collaborate and shows the latest updates about the items. All flow members can create or comment on posts. Flow Admins can make announcements. New feed cards are added to the feed each time an update is made to an item. Use an @ mention to tag others.
My Items
The My Items tab shows all the items that you’ve been active on. For each section, you can search, apply filters, and control what fields are shown or hidden. Click the Open item button (
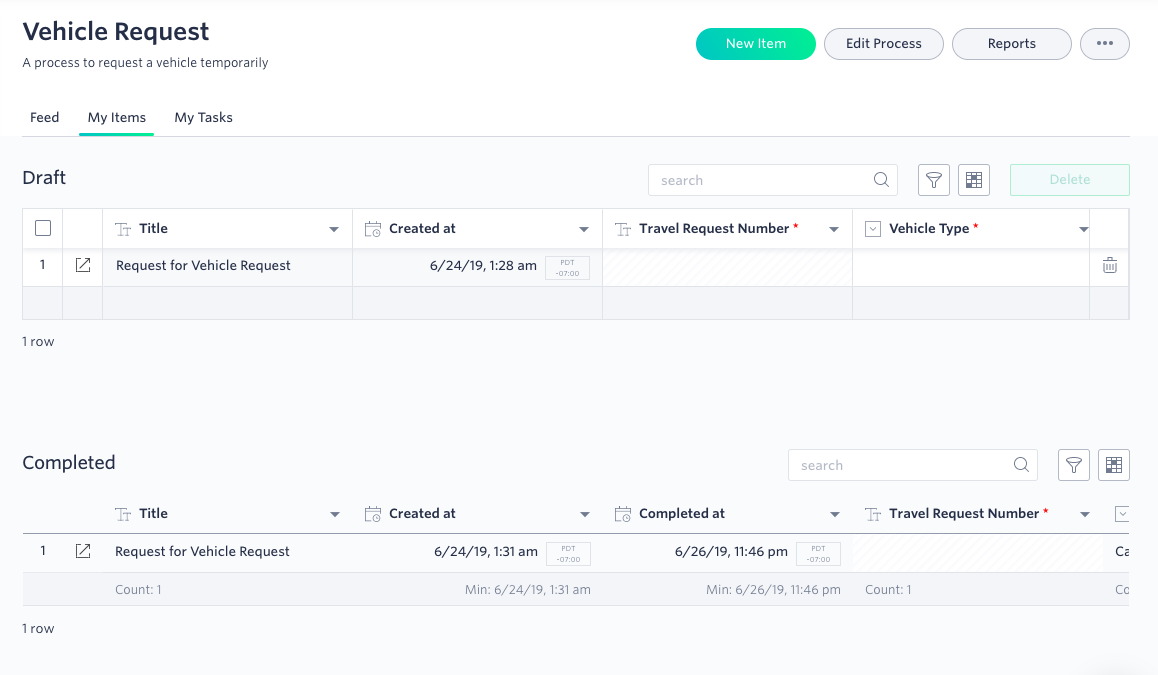
Items will be categorized in this order:
- Drafts are the items you’ve started to fill out, but haven’t yet submitted. When you open items in the draft state, you can edit the values and decide to delete, save, or submit the item. In the table view, if you select the checkboxes next to items, you can perform a bulk delete.
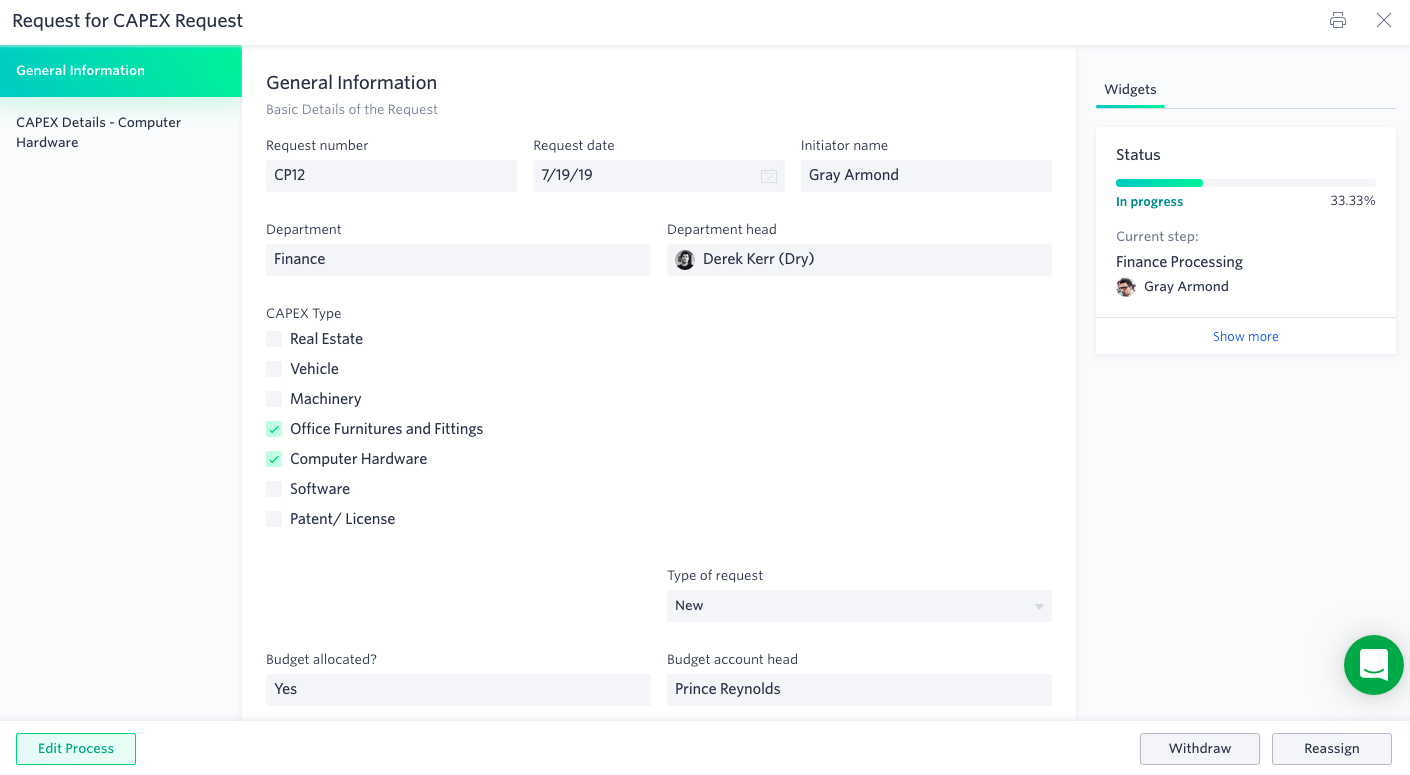
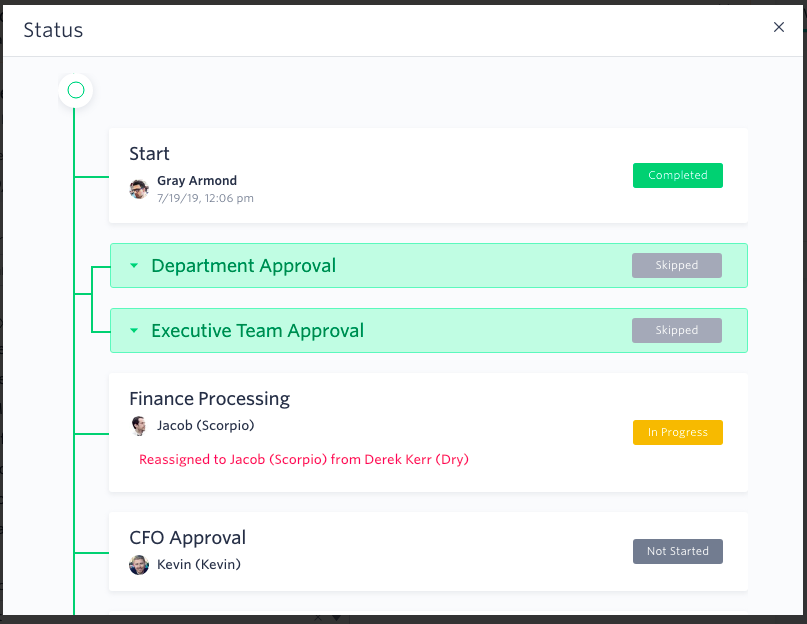
- In Progress shows all the items you submitted that haven’t finished the workflow yet. After opening the item, you can see a progress bar in the upper right side of the form that gives you a detailed look at the status of an item. To protect the integrity of the process, you cannot change any field values. Depending on the settings set by the Flow Admin, you may be able to reassign or withdraw the item.
- Participated shows all the items you have completed a step for, regardless of if you initiated them or not. Here you can view the form and the status of each item, but there are no actions to take.
- Rejected shows all the items you started that were rejected. If you click Restart, the same data will show up as a draft and you can submit it as a new item.
- Withdrawn shows all the items that you’ve withdrawn. You have the option to restart these items. If you restart them, there will be a note on the workflow that a copy of this item was previously withdrawn.
- Completed shows all the items that finished the workflow.
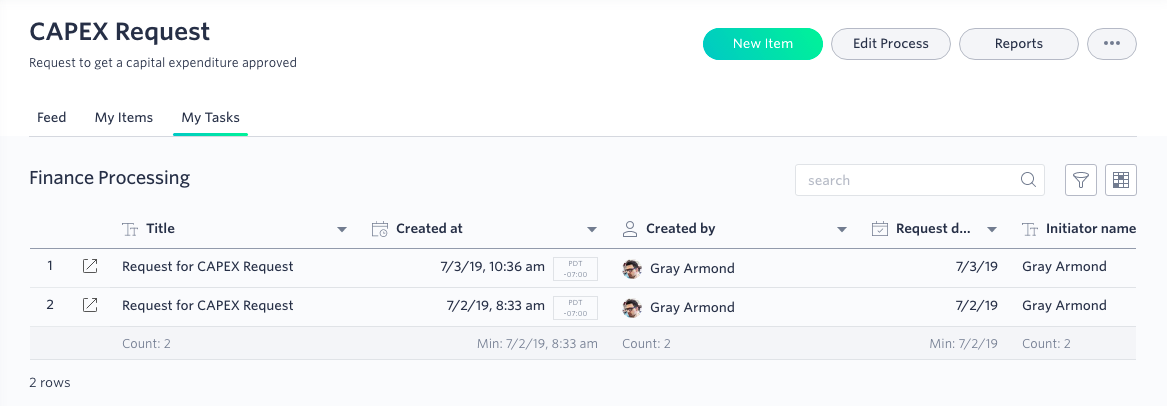
My Tasks
The My Tasks tab shows all the steps assigned to you. Tasks will be categorized based on the step approval in the workflow. For each step assigned to you, you can search, apply filters, and control what fields are shown or hidden.
Click the Open item button (
At the bottom of the form are actions you can perform. The buttons are configured by the Flow Admin, so the wording and visibility may differ depending on the step. Here are all the possible actions:
- Approve/Done/Submit means you want to advance the item to the next step. Forms may have validations that require you to adjust field values first.
- Reassign lets you select someone else to complete this step.
- Reject means you want to completely reject the item. The person who started the item can restart it as a new draft.
- Send back means you want to place the item at a particular step earlier in the workflow.
- Save will save the values you entered and allow you to come back to the item later.
Managing notification preferences
Notifications let you know the latest activity on the process. By default, you will be notified about all the activities that take place in the process.
To change the process notifications, click the More options button (
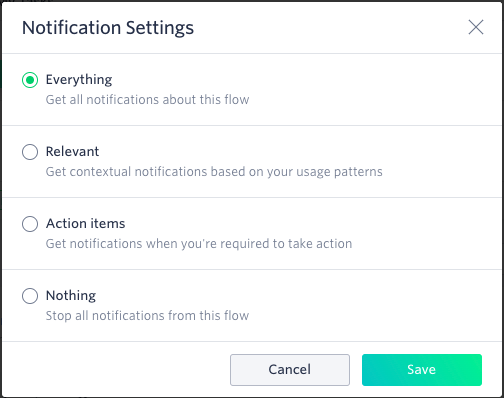
- Everything - You will be notified about all the activities that happen in the process.
- Relevant - Kissflow will learn which notifications you click and will tailor notifications to your usage pattern.
- Action items - You will be notified only when something requires your action.
- Nothing - You will not receive any notifications.